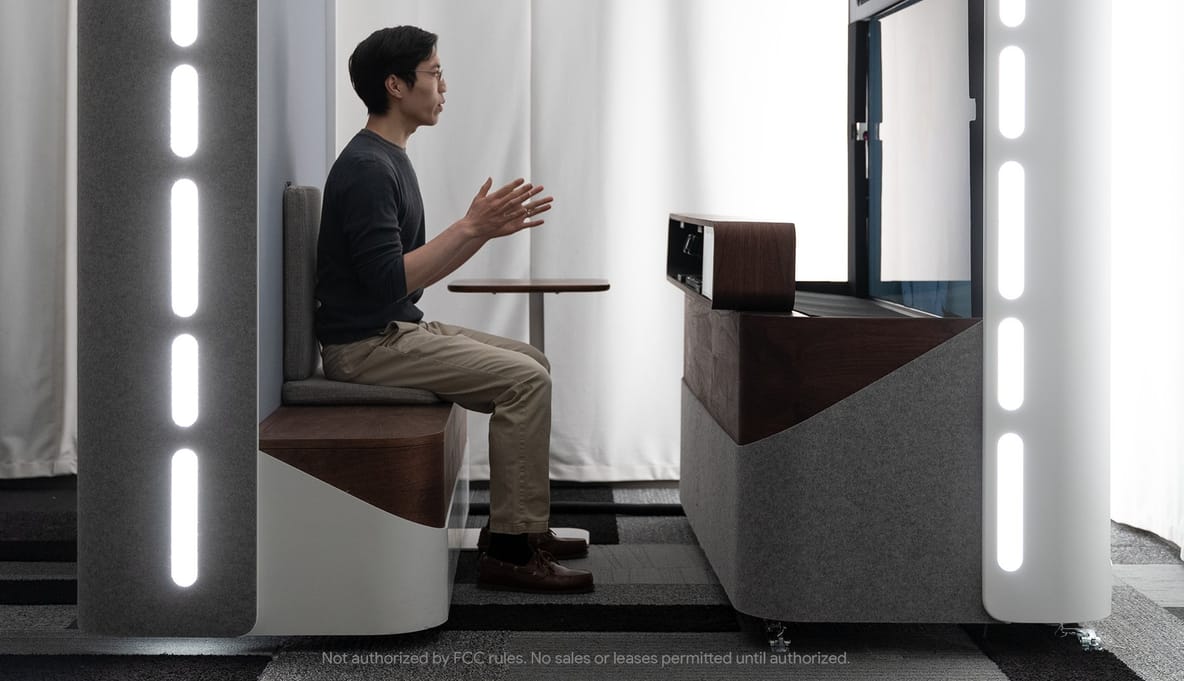
Google Beam
Feel like you're there, together.
¶ Illya Starikov  is a Ukraine-born, San Francisco-based software engineer writing about computers, science, and the tangents in between. Illya currently works on Beam at Google, building the future of communication. At home with his partner Taylor 🐝 🐻 and their cats Zuko 🐈, Bodie 🐈, and Mallory 🐈⬛.
Feel like you're there, together.
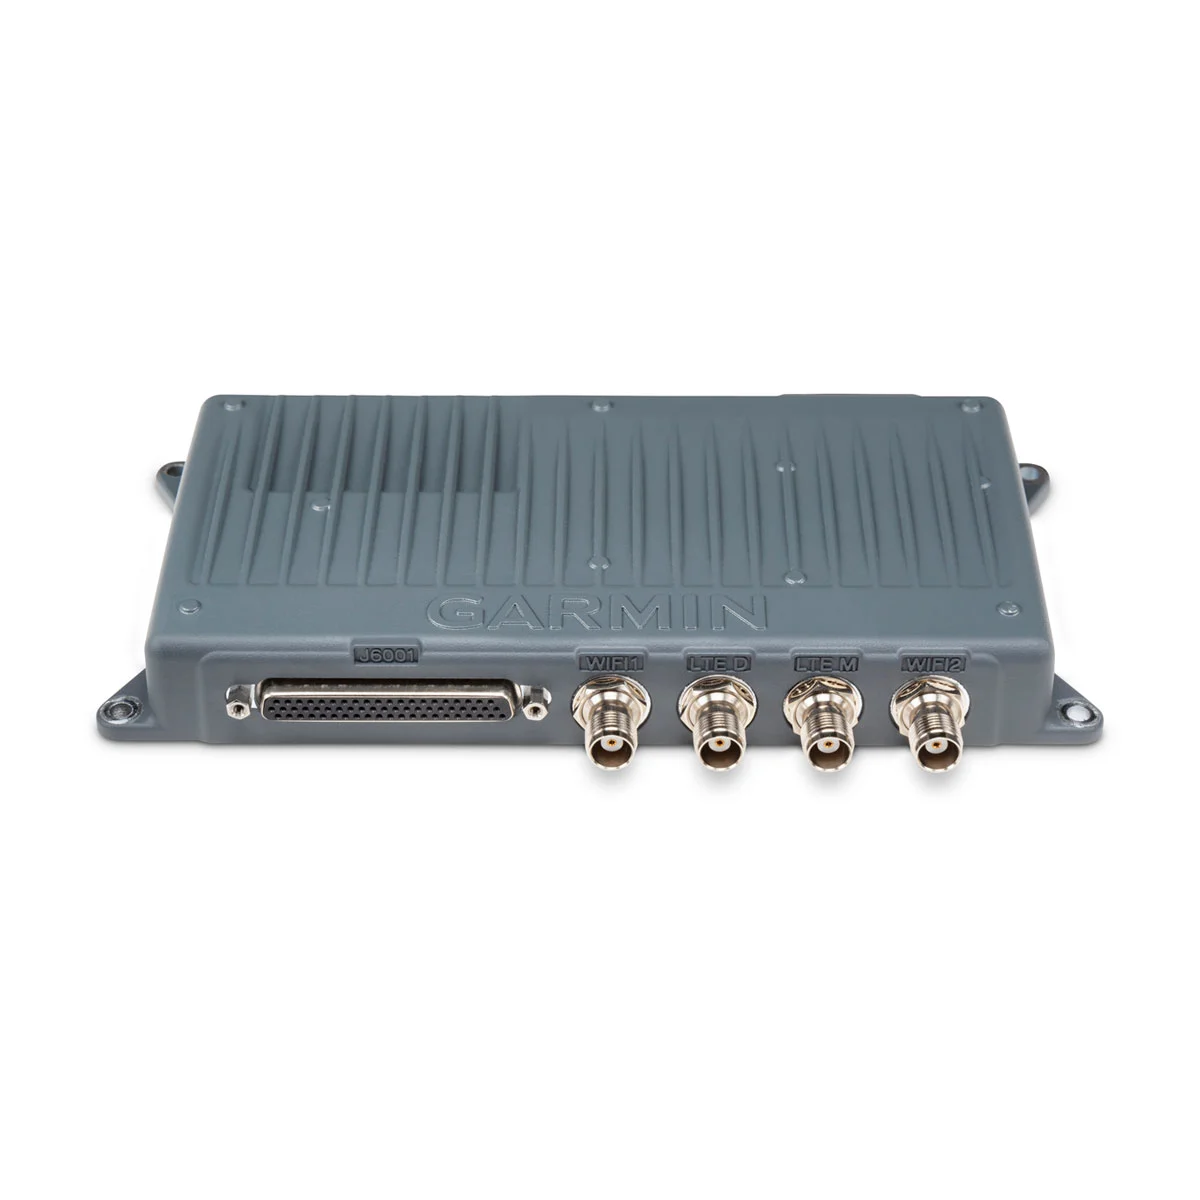
Streamline your flight prep, and enjoy your aircraft more with the GDL 60 datalink and PlaneSync™ technology.
Meet the new Google Pixel Tablet that’s helpful in your hands and at home.
Loud and clear, Pixel Buds Pro are here.
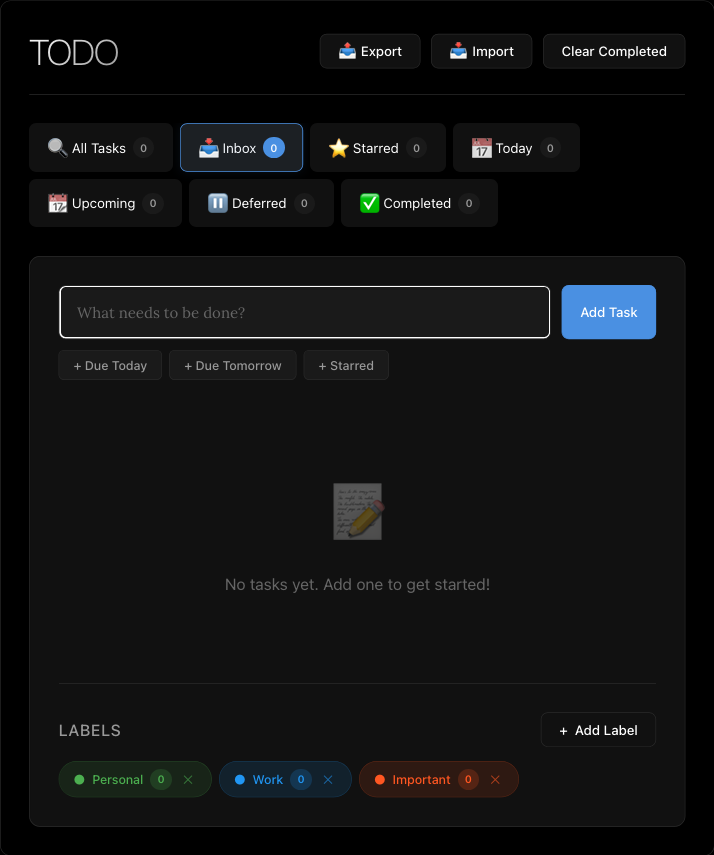
TODO 📤 Export 📥 Import Clear Completed 🔍 All Tasks 0 📥 Inbox 0 ⭐ Starred 0 📅 Today 0 📆 Upcoming 0 ⏸️ Deferred 0 ✅ Completed 0 New task Add Task + Due Today + Due Tomorrow + Starred Advanced Filters Clear All Search Label All Labels Due Date Defer
sort<Algorithm>(from: bubble, to: Tim)

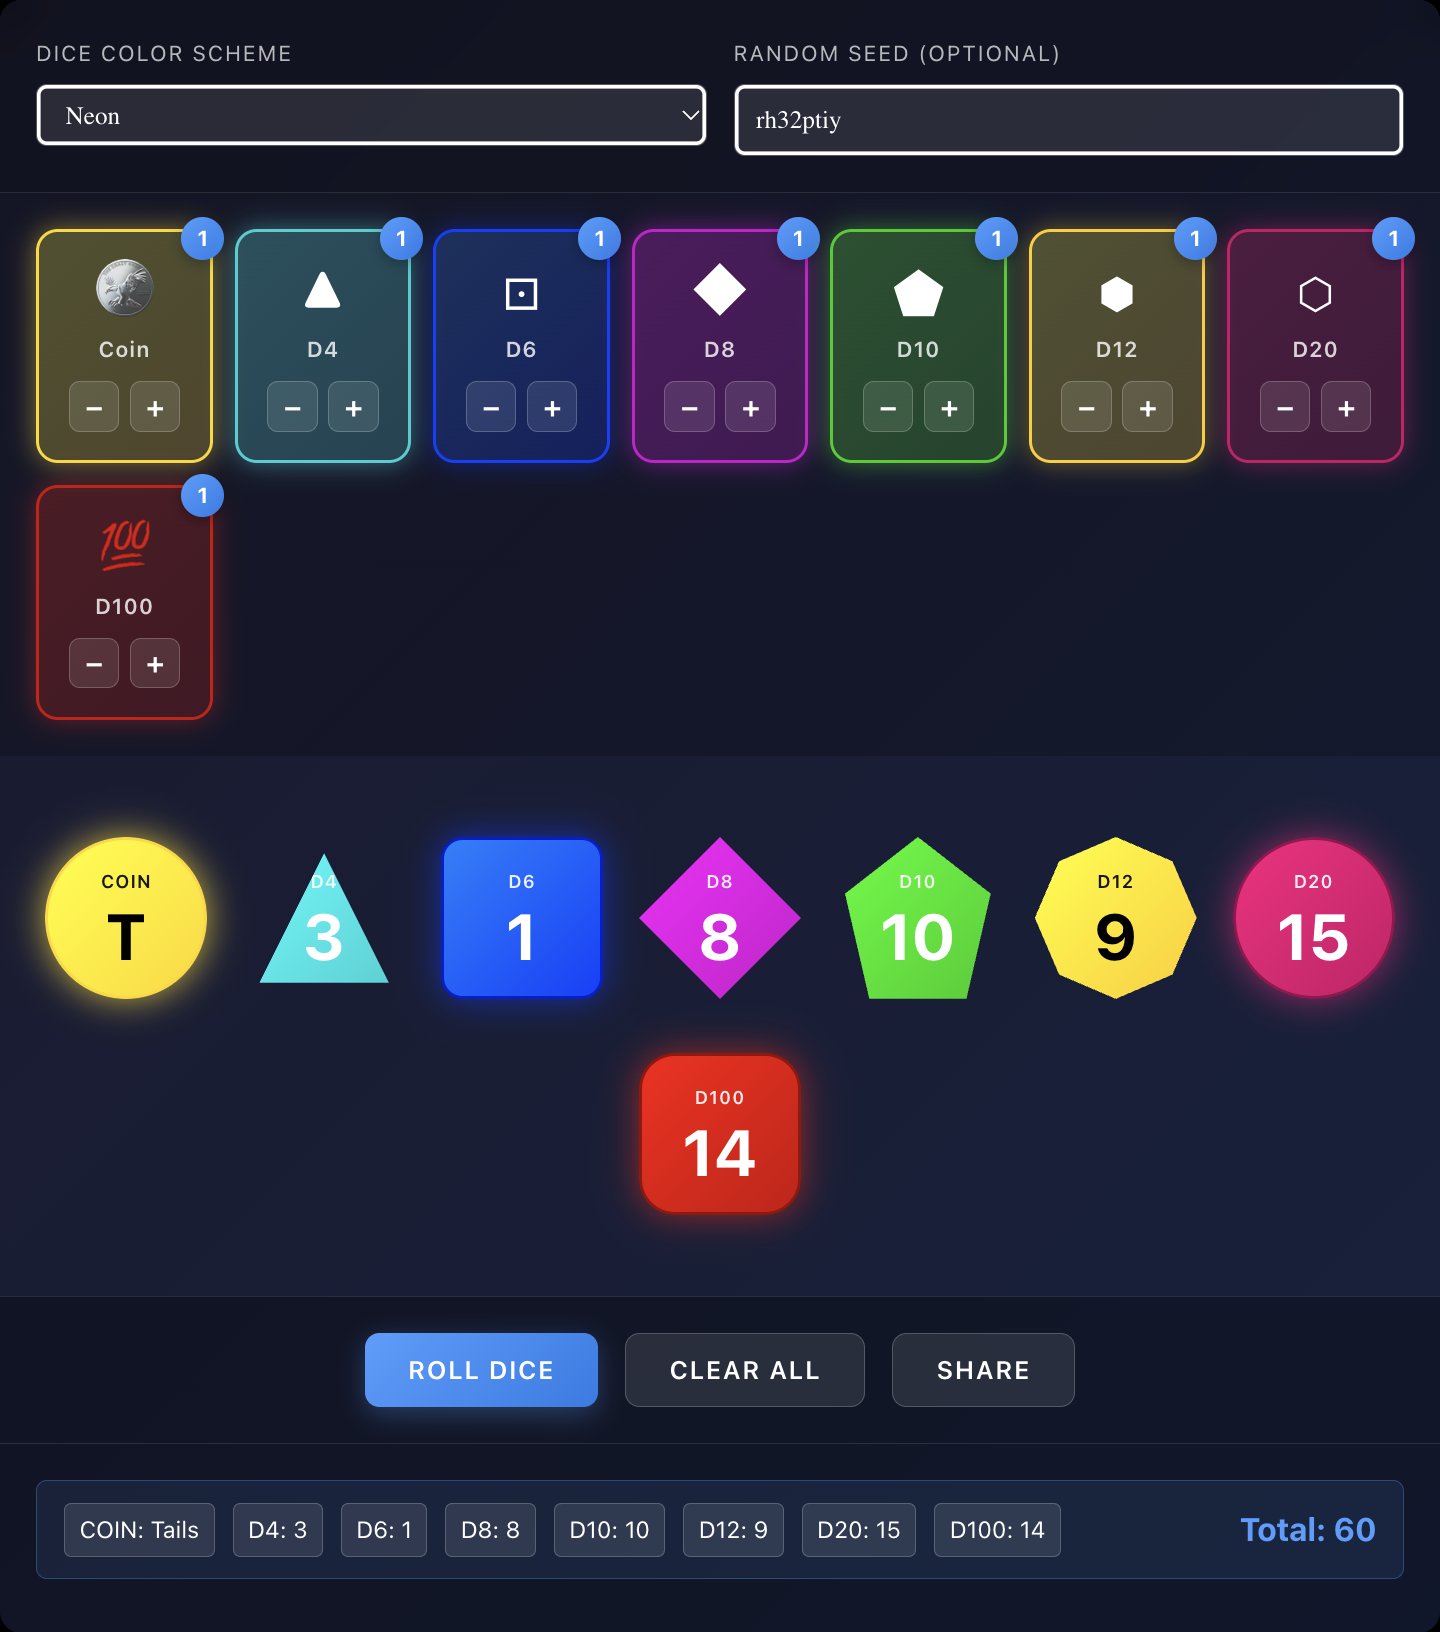
Roll With It
112 WPM. Take that, typing teacher!
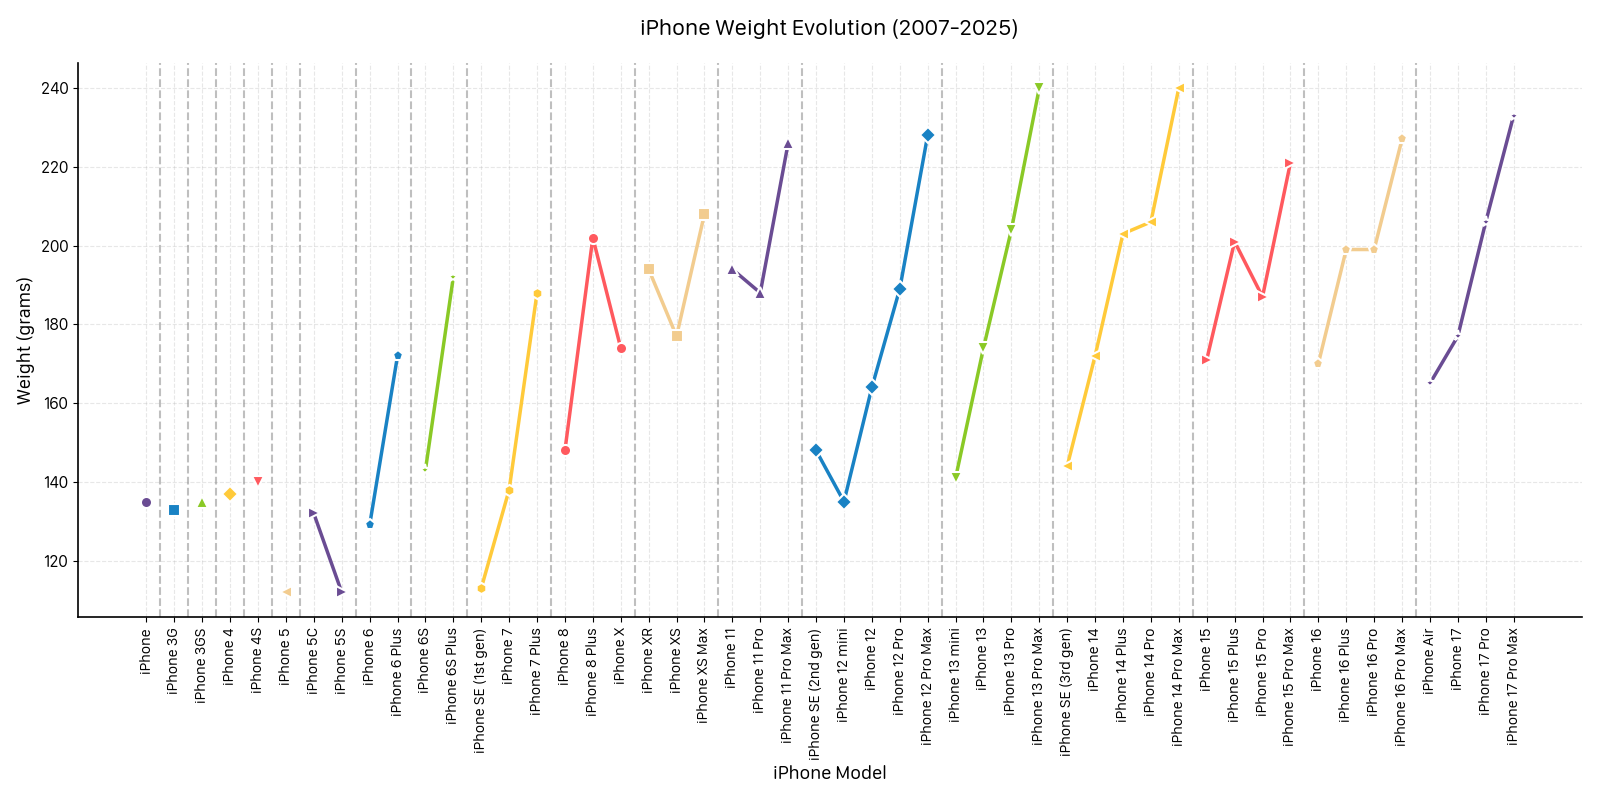
I fear I am about to feel what iPhone Mini people feel.
Crowned Prince of the Fire Nation 🔥

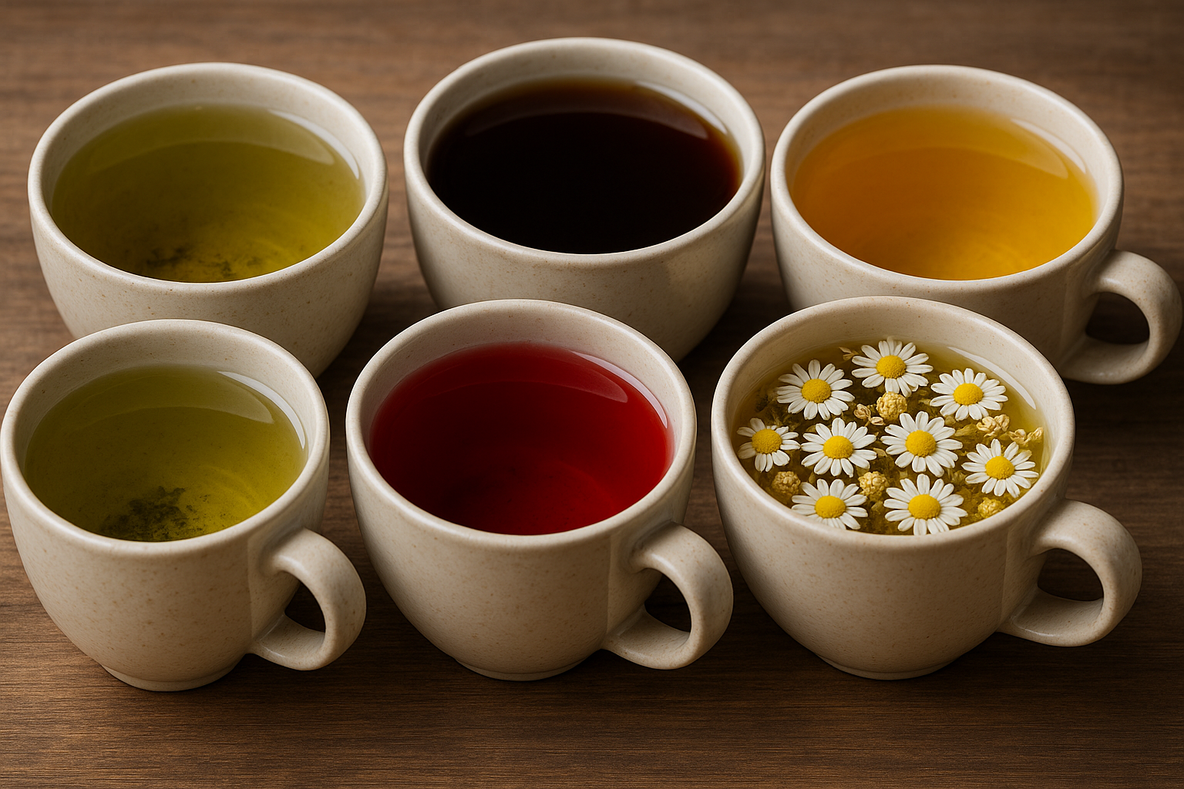
If you are cold, tea will warm you; if you are too heated, it will cool you; if you are depressed, it will cheer you; if you are excited, it will calm you.
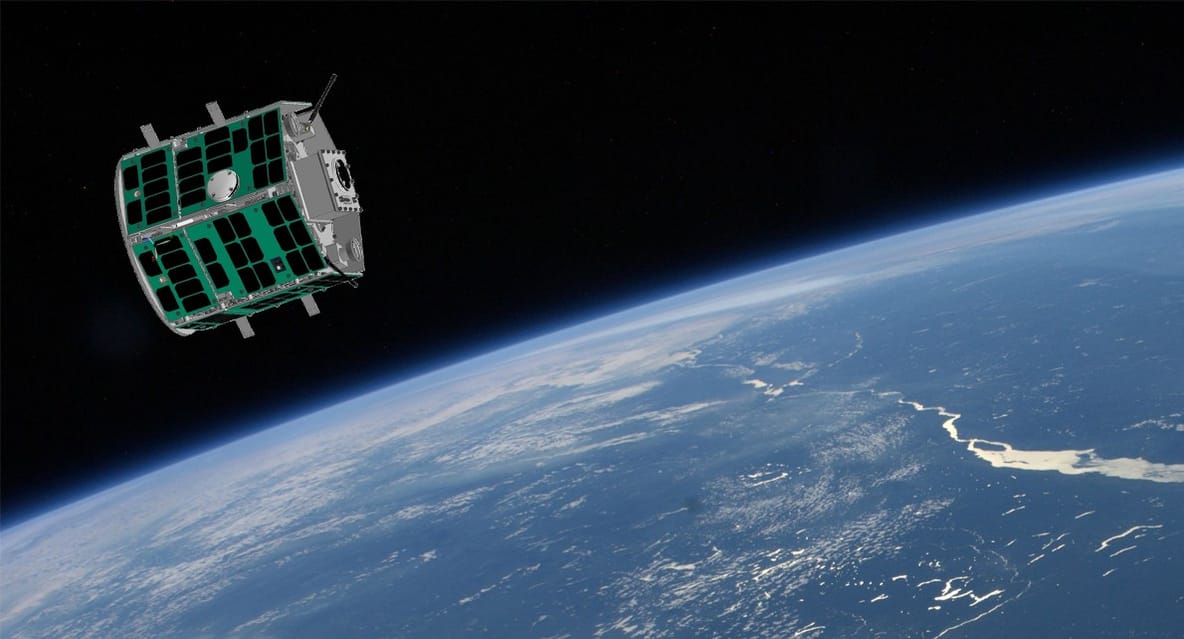
Missouri made. Space grade.
The feed that feeds your mind.

When hue need the exact colour.
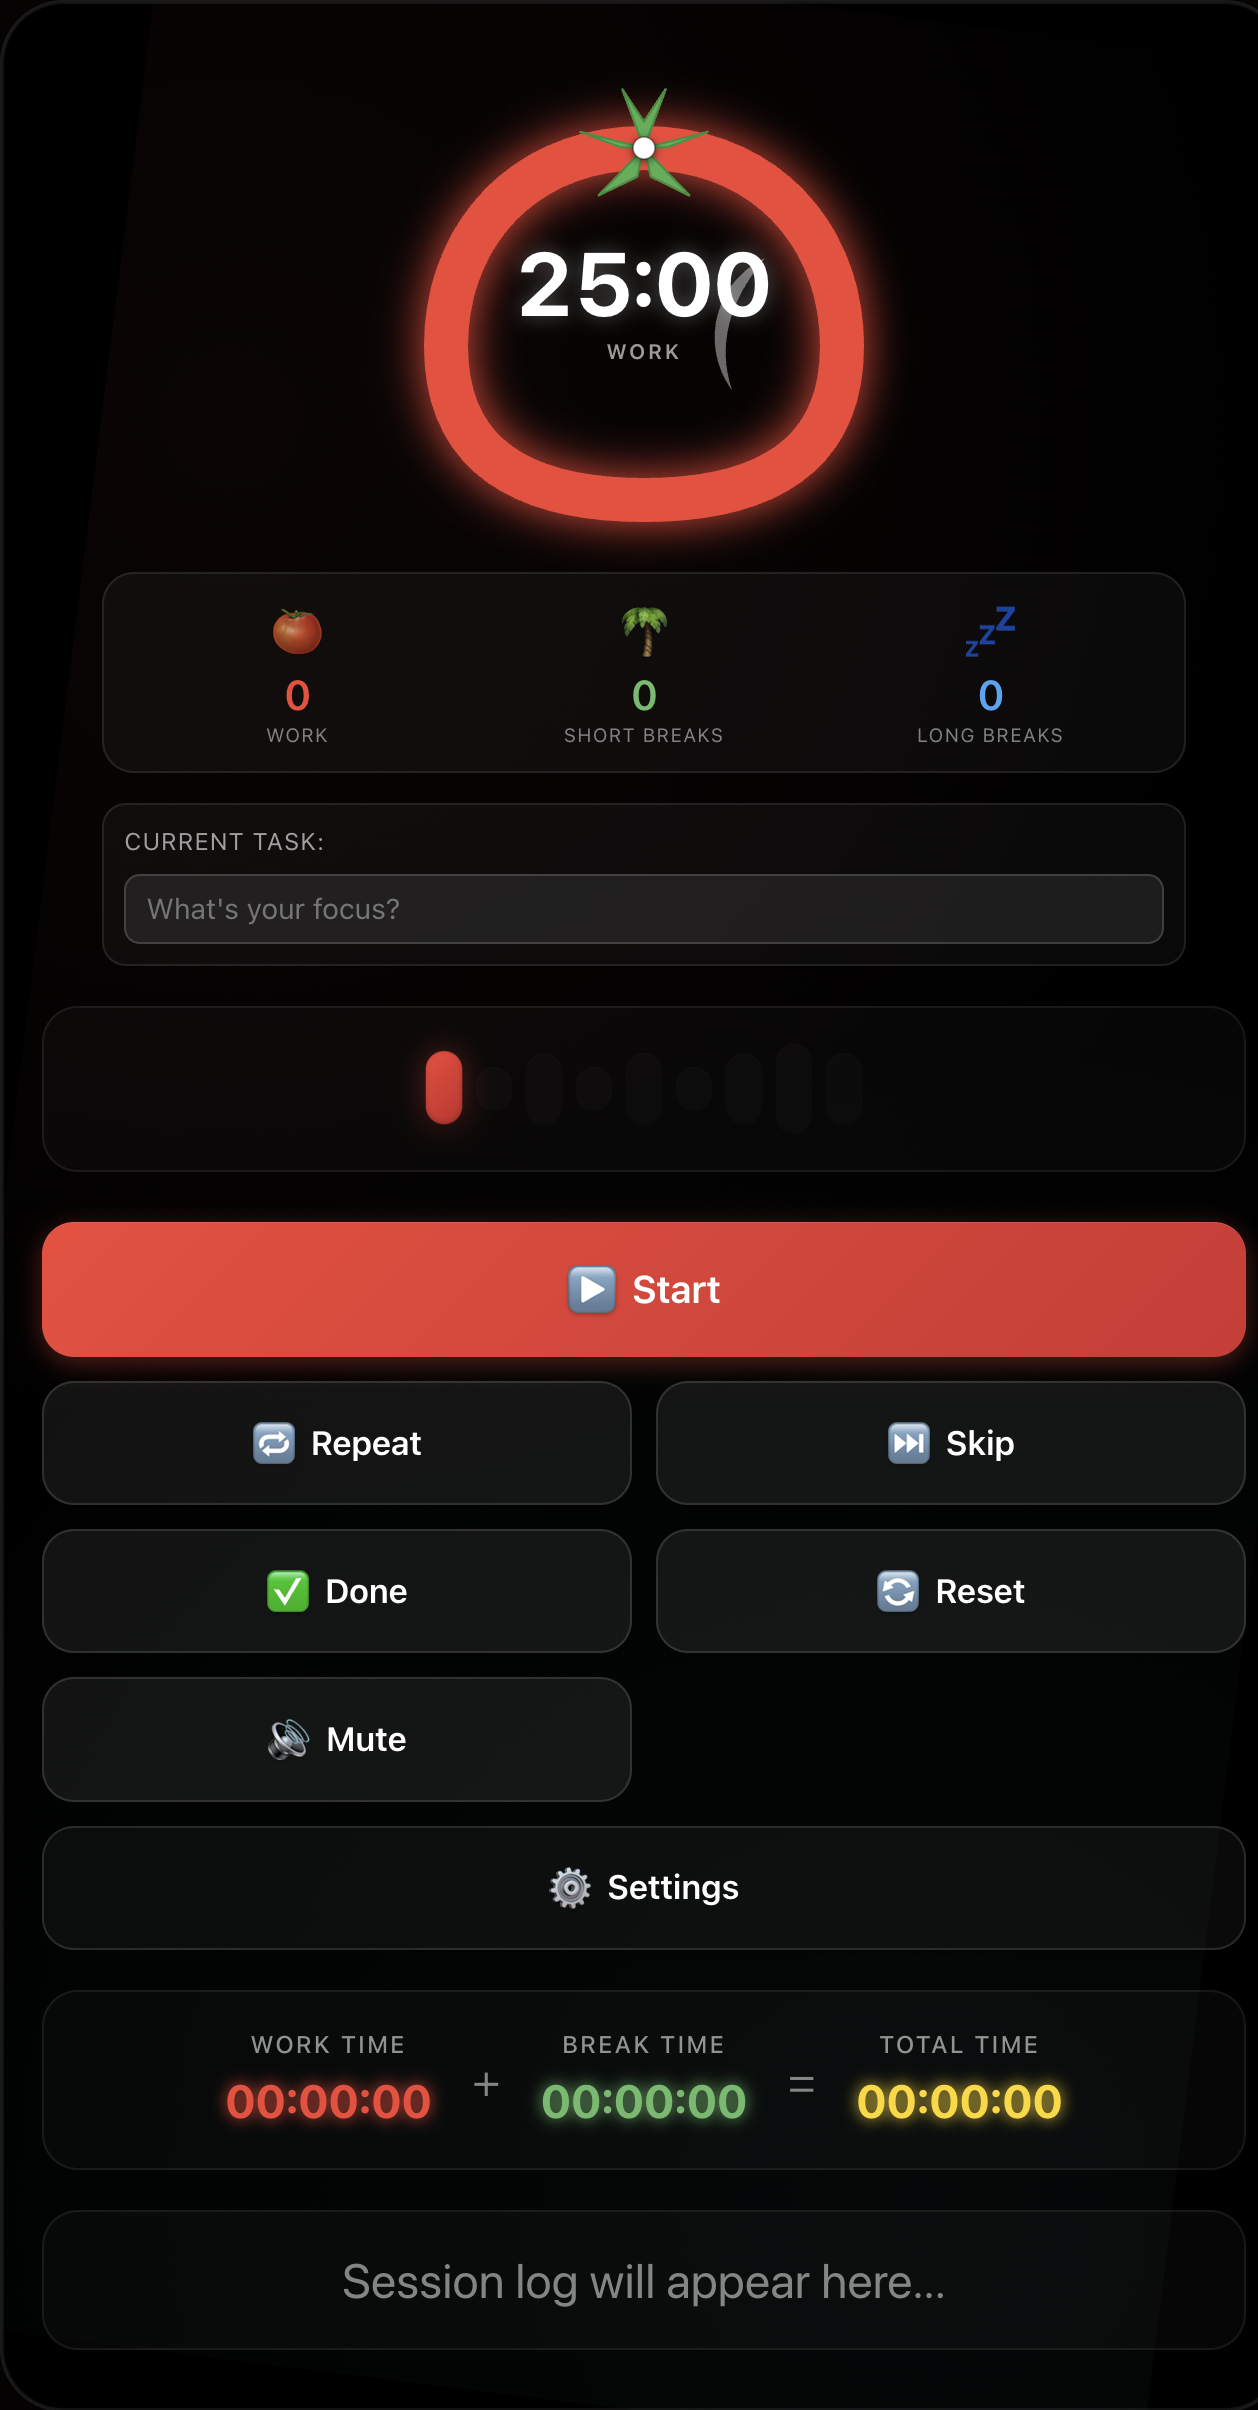
A Pomodoro a day keeps the procrastination away.
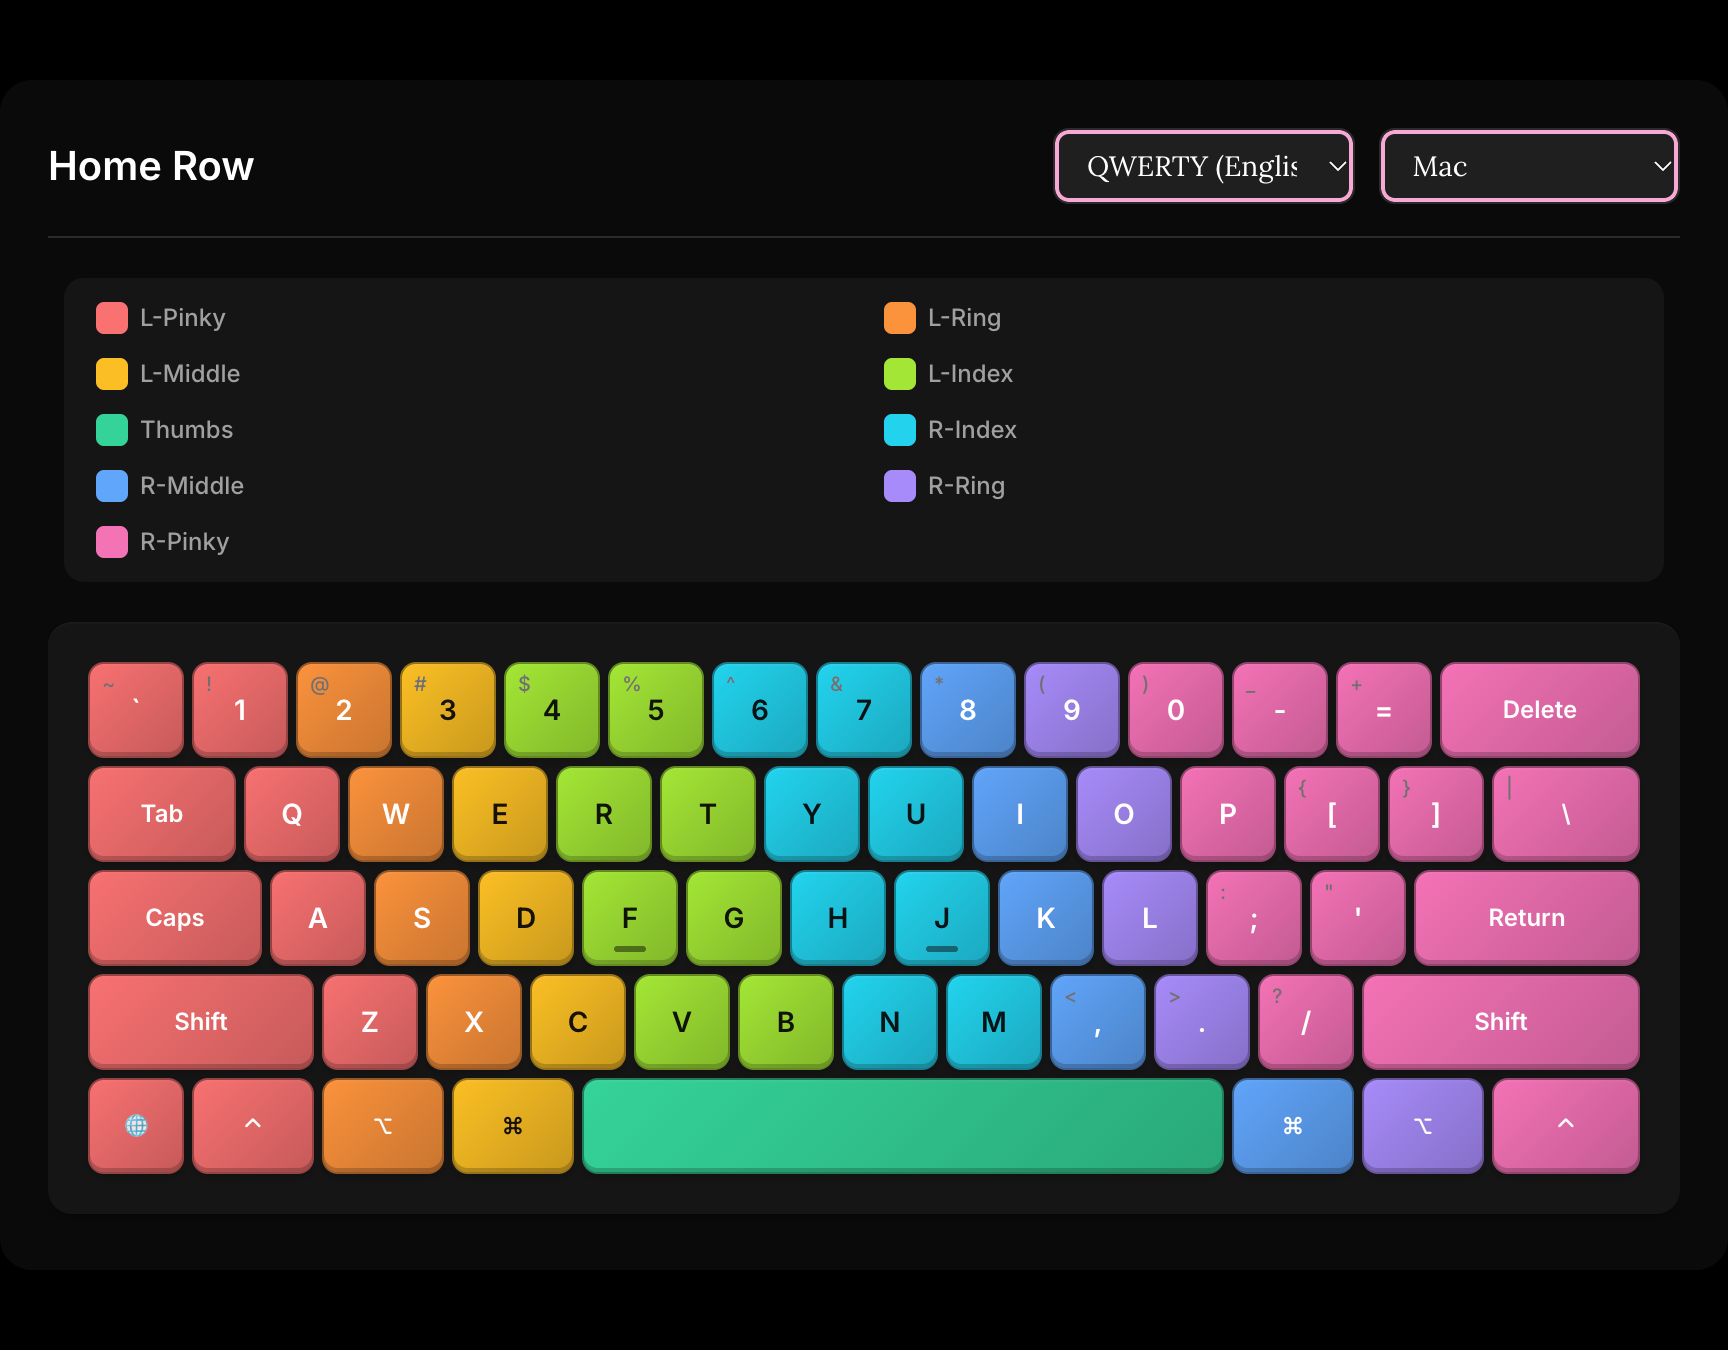
33 letters, one language, one millennium.